Photos Tab
As part of the estimate review process, you can review the photos associated with the estimate. If needed, mark up the photos to draw attention to any damages you see.
How to
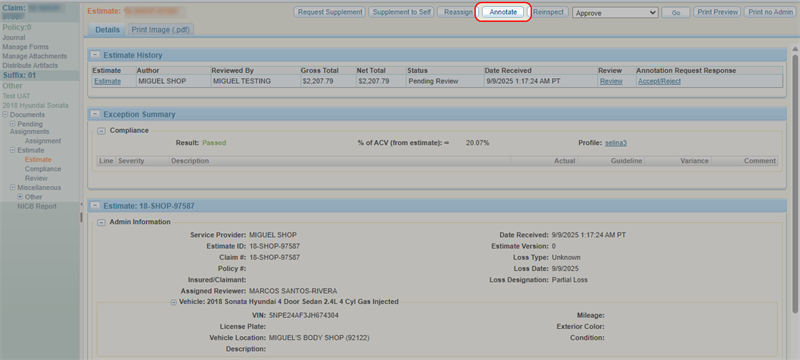
- Navigate to the details page of the desired estimate.
- Do one of the following:
-
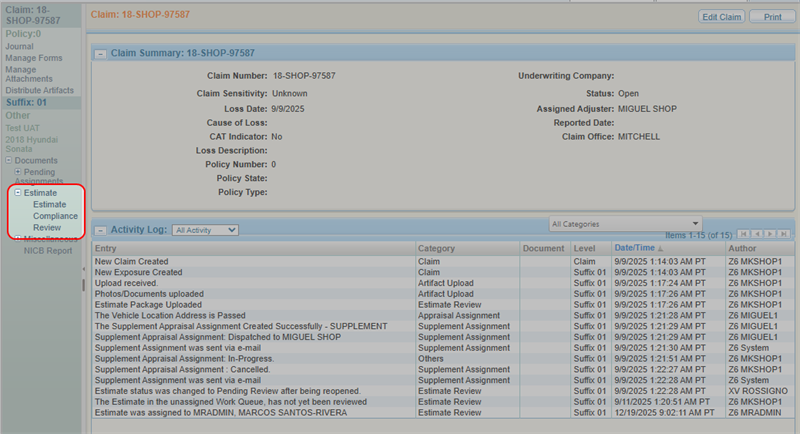
From the claim navigation pane, select Estimate > Review.
-
From the estimate details page, select Annotate.
- Select the Photos tab from the tabs to the right of the estimate view to view the photos associated with the estimate.
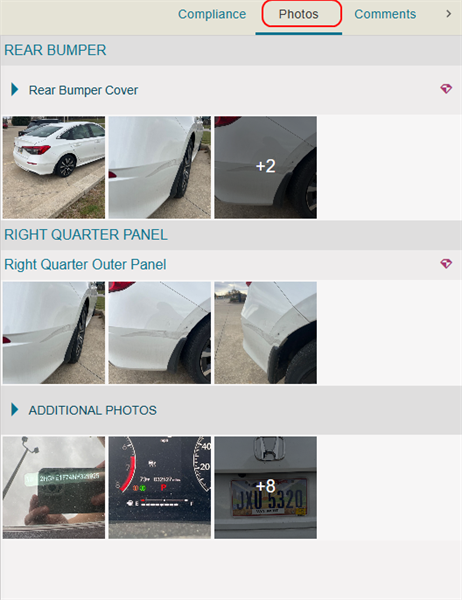
- Select the arrow to view all specified part photos within a section.
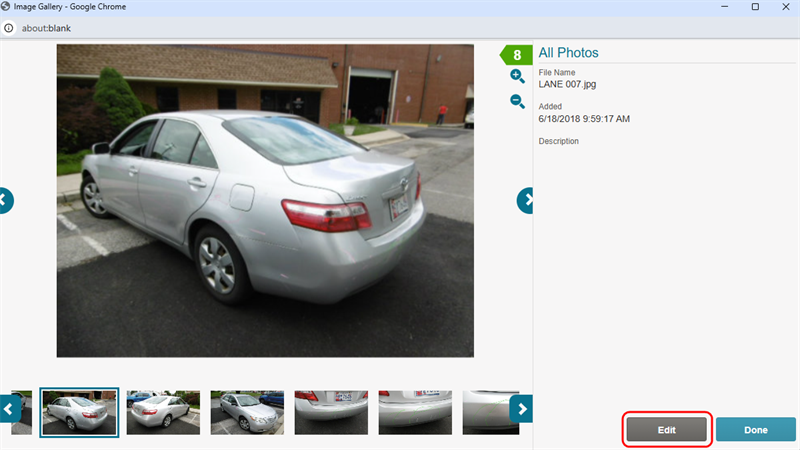
Clicking on a photo opens the Image Gallery, where you can:
-
Zoom in/Zoom out
-
See file name, file properties, and file descriptions
-
Edit the photo
You can edit and mark up the photos, and then save a new photo file with your edits.
-
On the Photos tab, select the desired photo.
-
On the Image Gallery window, select Edit to open the Edit Image Window.
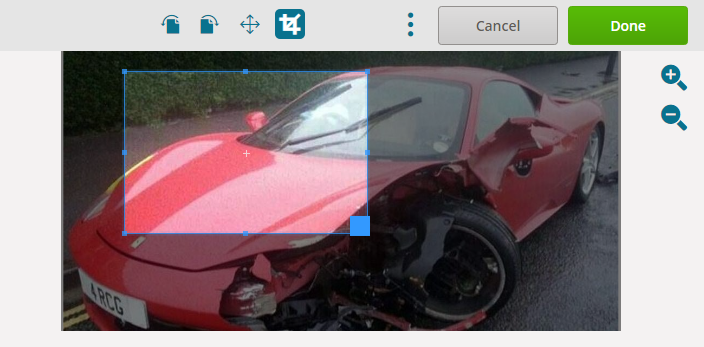
- On the Edit Image window, select the crop button
 at the top of the page. Select
  to position the image as needed.
 - Select the area on the image you want to crop.
Tip: Select Revert (before you save your changes) to start over.
- Do one of the following:
- Select Done to save your changes. The system creates a new image with your changes.
- Select Save As to save your changes and rename the edited copy of your image. Follow the prompts to save and rename your image.
- Select Revert to undo any changes you made before you save the image.
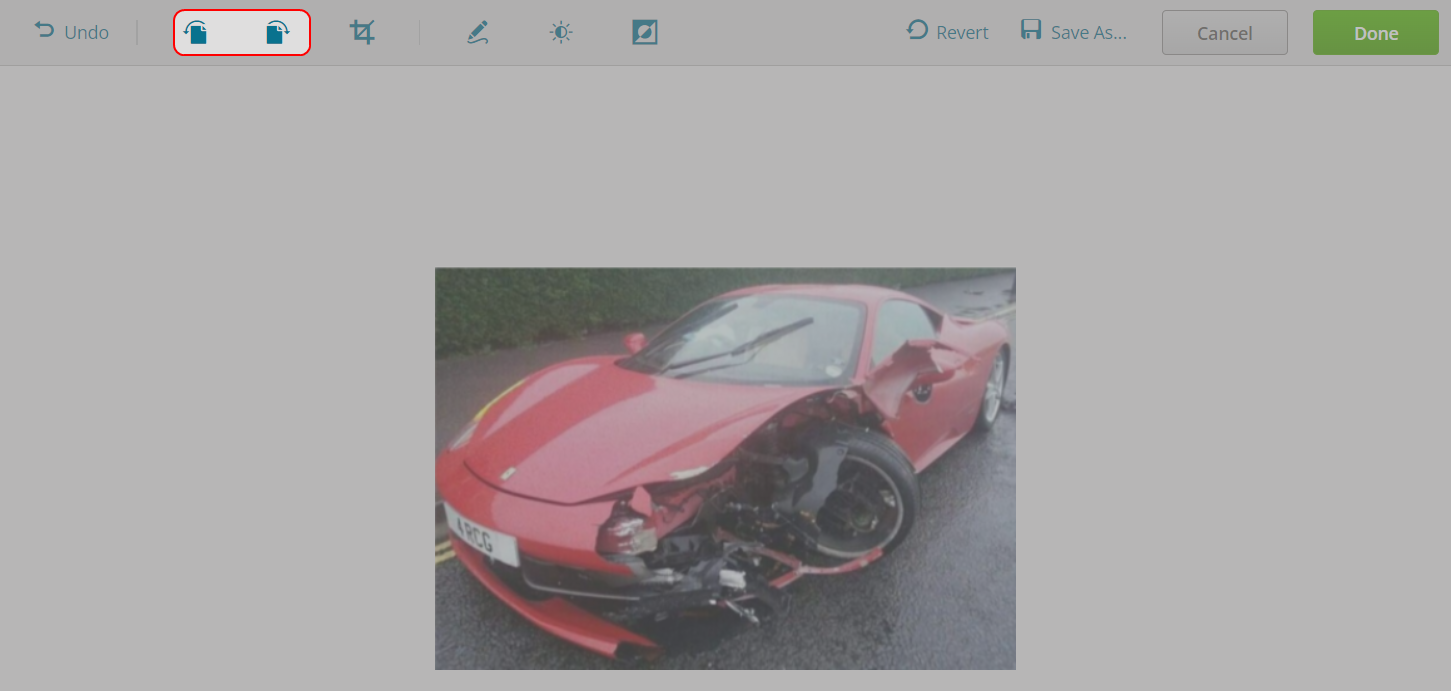
- On the Edit Image window, do one of the following:
- Select
 to rotate the image 90 degrees to the left.
 - Select
 to rotate the image 90 degrees to the right.
 Tip: Select Revert (before you save your changes) to start over.
- Select
- Do one of the following:
Select Done to save your changes. The system creates a new image with your changes.
Select Save As to save your changes and rename the edited copy of your image. Follow the prompts to save and rename your image.
Select Revert to undo any changes you made before you save the image.
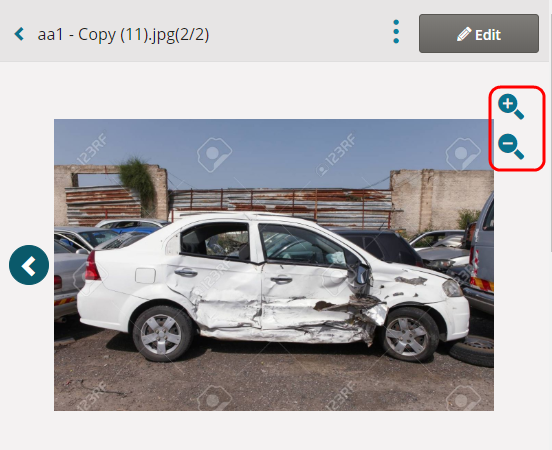
Review images in greater detail by zooming in and out on photos.
- On the Edit Image window, do one of the following:
- Select
 to zoom in.
 - Select
 to zoom out.
- Select
Mark up the photos to draw attention to any damages you see.
- On the Edit Image window, select
 .
. - Select the color in the Color list and adjust the size of your marker in the Size slider.

- Select the image to start drawing your line.
- Select Revert at any time to undo your changes before you save changes.
Note: Once the image has been saved, you cannot undo your markings.
- Do one of the following:
-
Select Done to save your changes. The system creates a new image with your changes.
-
Select Save As to save your changes and rename the edited copy of your image. Follow the prompts to save and rename your image.
Make vehicle images easier to view by adjusting the brightness and contrast. Brightness refers to the overall lightness or darkness of the image while contrast is the difference in brightness between objects or regions.
-
On the Edit Image window, select
 .
. -
Do any of the following:
-
Adjust the slider to change the brightness.

-
Adjust the slider to change the contrast.

-
Do one of the following:
-
Select Done to save your changes. The system creates a new image with your changes.
-
Select Save As to save your changes and rename the edited copy of your image. Follow the prompts to save and rename your image.
-
Select Revert to undo any changes you made before you save the image.
Invert vehicle image colors to make a high-contrast image that's easier to see. Bright colors turn dark and dark colors turn white.
- On the Edit Image window, select
 .
. -
Do one of the following:
-
Select Done to save your changes. The system creates a new image with your changes.
-
Select Save As to save your changes and rename the edited copy of your image. Follow the prompts to save and rename your image.
-
Select Revert to undo any changes you made before you save the image.